Setting Up LuckPerms for Minecraft Server Permissions
LuckPerms is a powerful permissions plugin for Minecraft servers that allows you to create ranks, manage permissions, and control access to commands and features. This guide covers installation, basic setup, and creating your first permission groups.
- Download and Install LuckPerms
Download the appropriate LuckPerms jar file from https://luckperms.net/download. Place it in your server's plugins folder (for Paper/Spigot) or mods folder (for Fabric/Forge). Restart your server to generate the configuration files. - Grant Yourself Admin Permissions
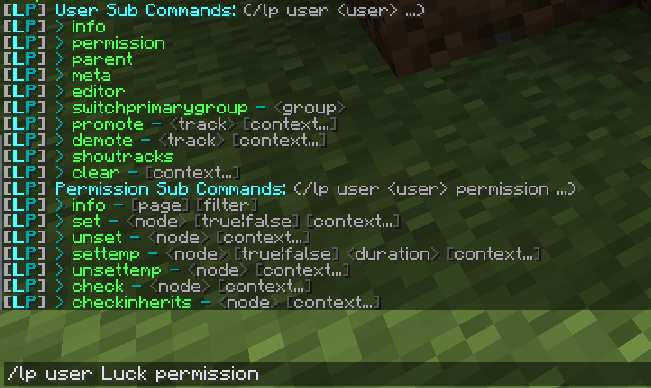
In the server console, run:lp user <your-username> permission set luckperms.* true. This gives you full access to LuckPerms commands. - Create Your First Group
Create a new group withlp creategroup admin. Add permissions usinglp group admin permission set <permission> true. For example,lp group admin permission set minecraft.command.ban true. - Add Users to Groups
Assign users to groups withlp user <username> parent add <group>. For example:lp user Steve parent add admin. - Set Up Group Inheritance
Make groups inherit permissions from others. For example:lp group moderator parent add defaultthenlp group admin parent add moderator. - Configure Storage (Optional)
By default, LuckPerms uses H2 database. For MySQL, edit config.yml: set storage-method to mysql and fill in database details. Restart the server. - Use the Web Editor
Run/lp editorin-game to open the web-based editor for easier permission management. - Test and Troubleshoot
Use/lp verbose on <user>to monitor permission checks. Check console for errors and ensure no other permission plugins are installed.
With LuckPerms set up, you can now create a comprehensive permission system for your Minecraft server. For advanced features like contexts and tracks, refer to the official documentation.